
神秘海域2图文攻略(神秘海域图文攻略游民星空)
2024-02-10 00:00:00来源网络

第二章 破门而入
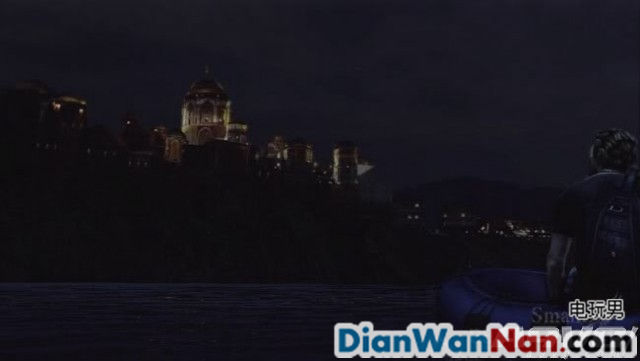
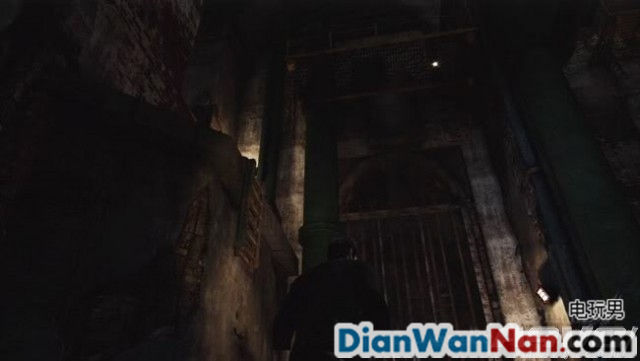
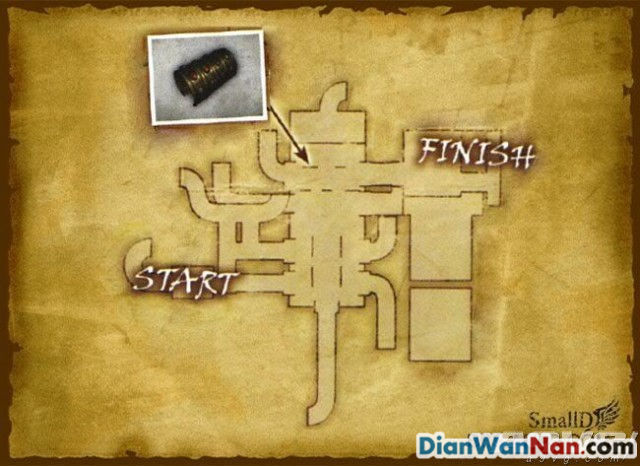
地图1 博物馆 下水道1
跟着同伴即可找到上去的路。1.不断地跳跃攀爬。
2.拉动闸门关闭蒸汽。
3.借助同伴爬上楼梯。
4.从下水道进入博物馆。
5.最后截断警报器电源,即可进入大门。
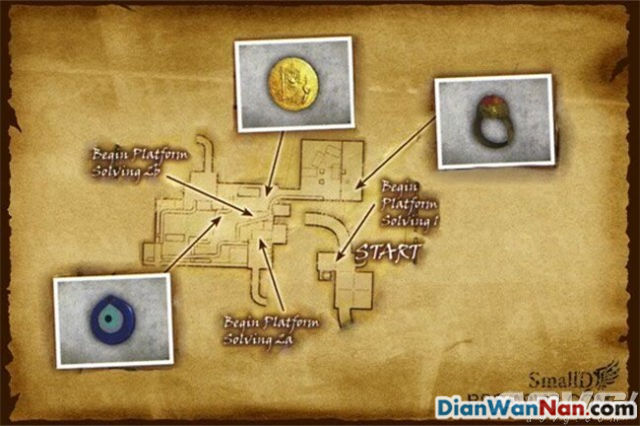
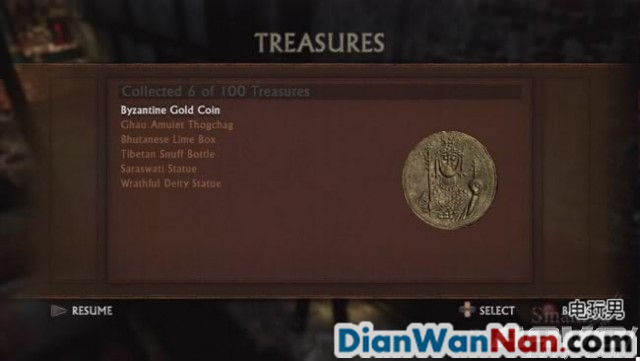
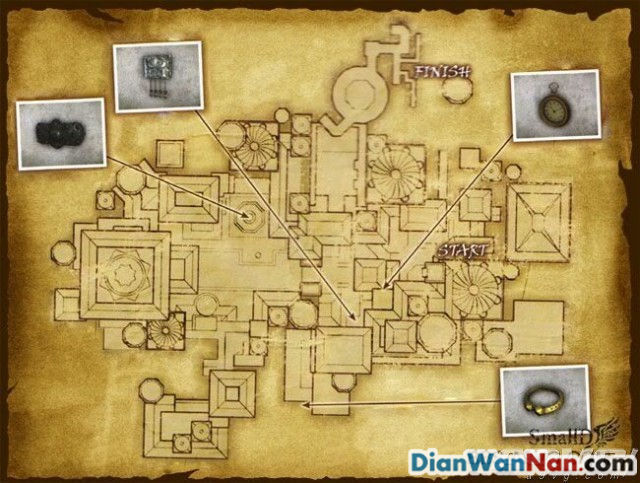
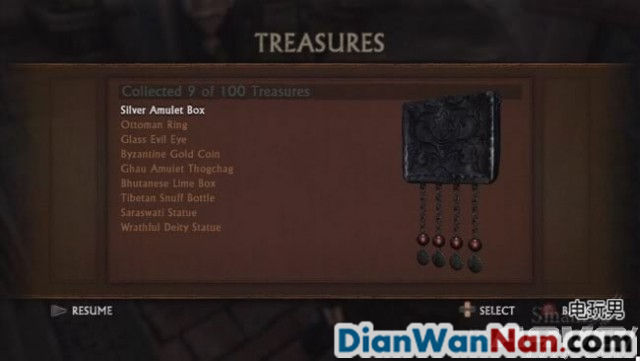
No.6拜占庭金币难度:容易
从下水道爬上来後,即可在旁边的箱子上发现。
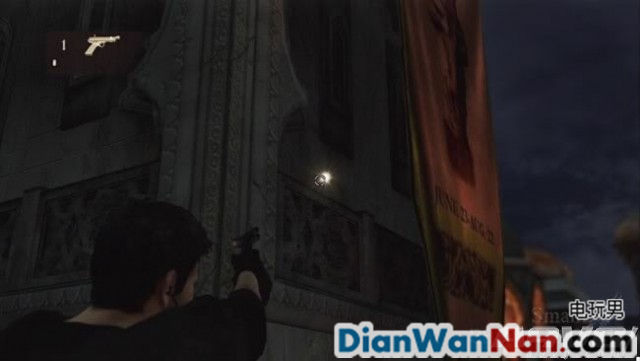
No.7玻璃魔眼难度:困难
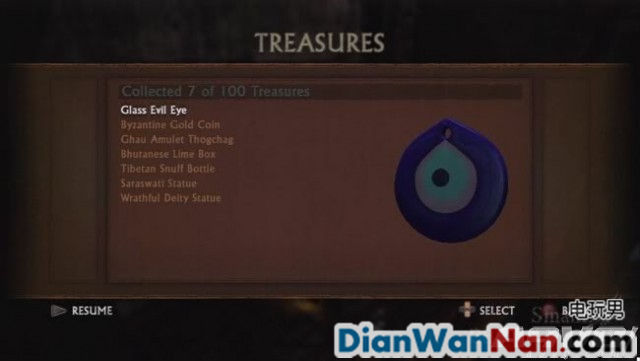
就在协力上去的平台的上面。转身跳过去即可。
No. 1
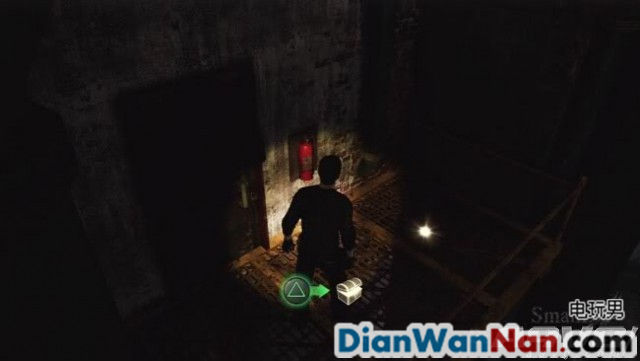
No.8那图曼戒指难度:容易
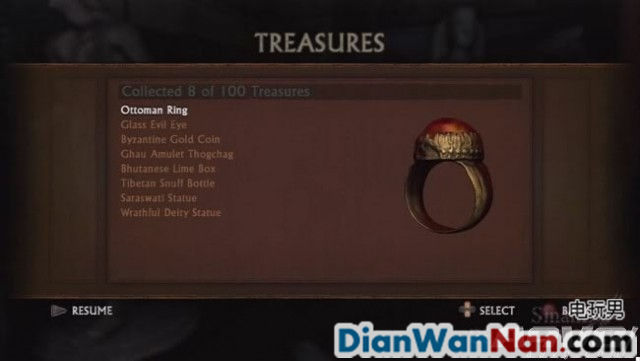
博物馆储藏室大门附近的一具盔甲上。
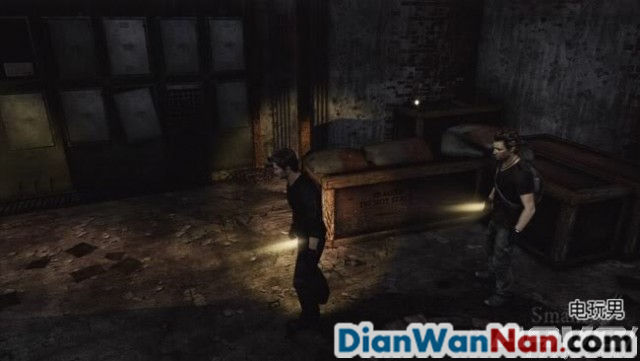
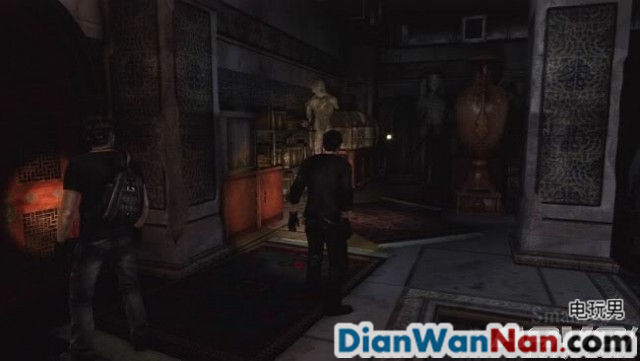
地图2 博物馆
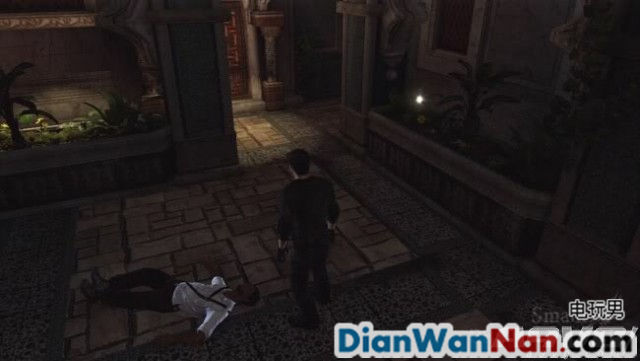
秘密潜入,到达展览室即可。1.小心不要被敌人发现,背后偷袭就好。
2.途中需要再次截断警报电源。
3.跟着同伴一路前进。
4.进入仓库地图,可以得到麻醉枪。好好使用吧。
5.再次出到室外后不久,就可以到达建筑群的高塔。我们的最终目标,展览室。
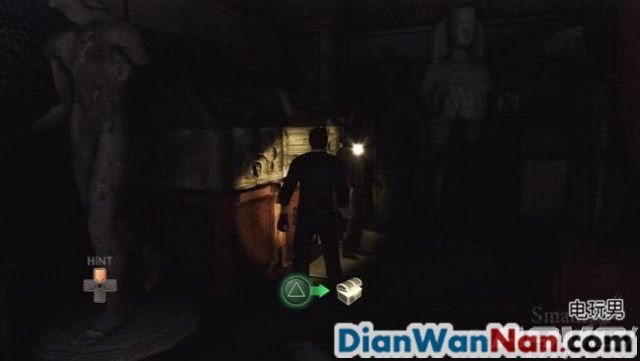
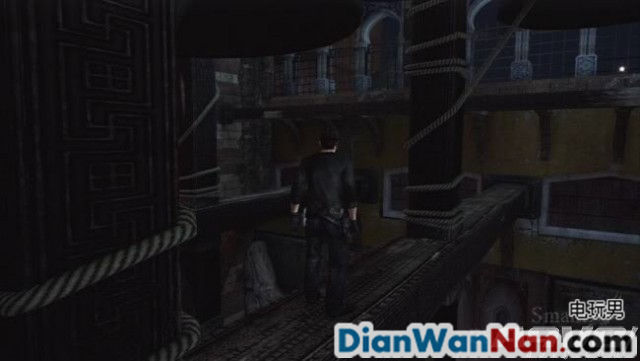
地图3 仓库
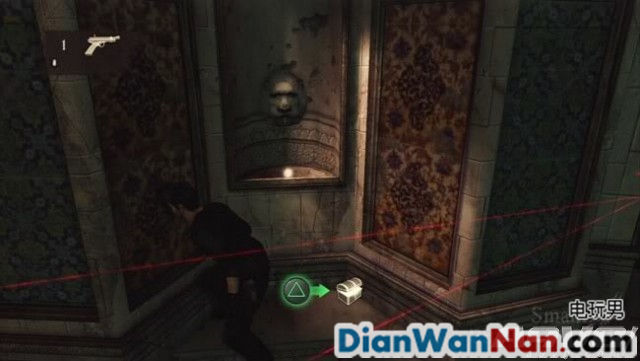
No.9白银护身符难度:普通
第二次截断警报电源前取得,留意途中的花坛。

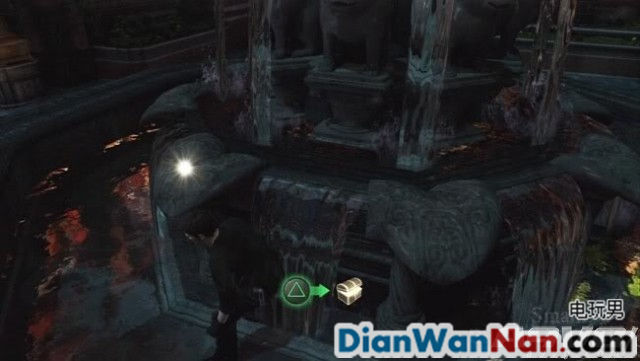
No.10白银皮带扣难度:容易
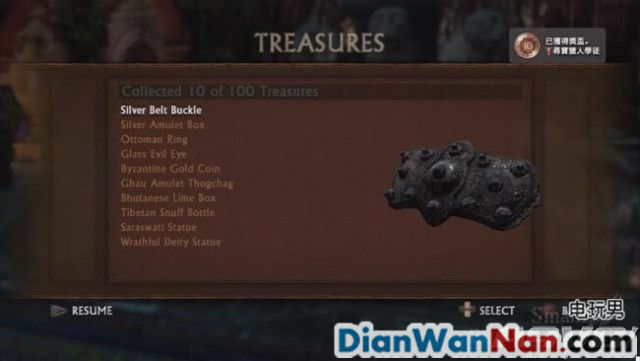
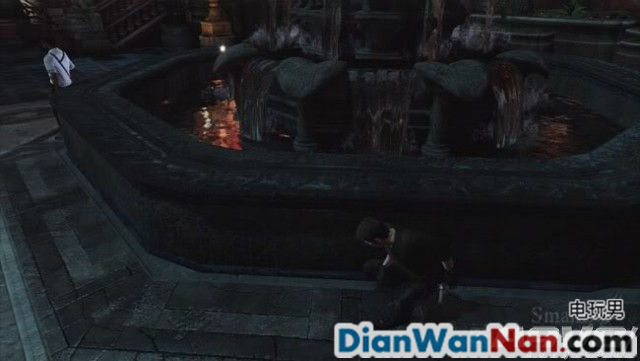
就在喷水池里,很容易就可以看到。
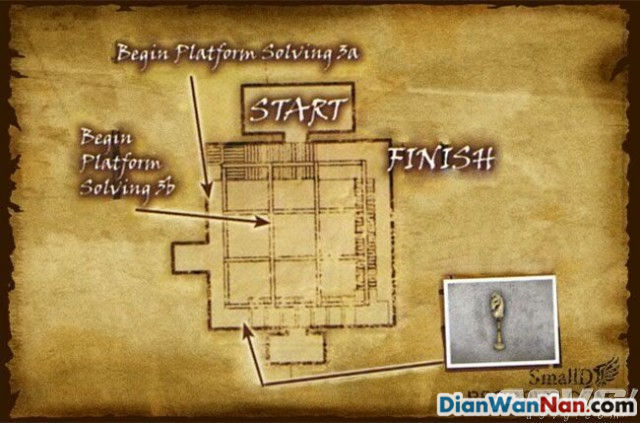
No.11象牙制骑士棋子难度:普通
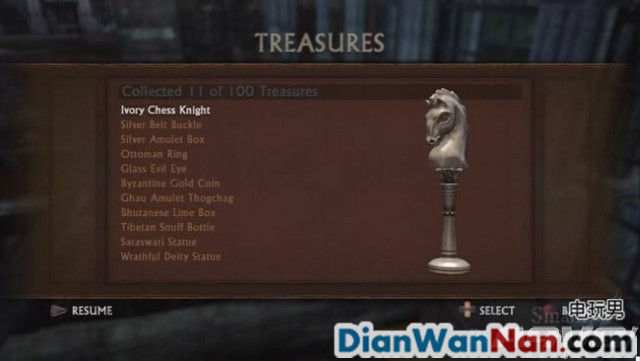
进入仓库后,在图中这个位置的窗台上。取得才爬出室外吧。
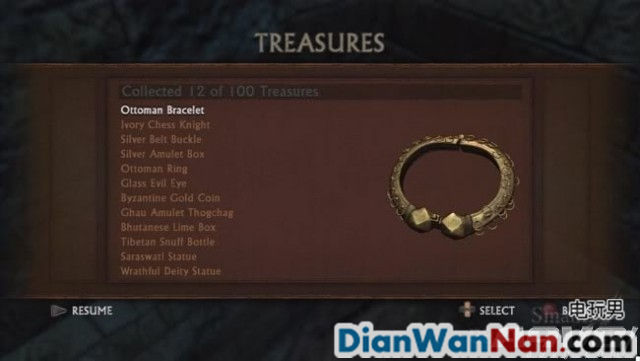
No.12鄂图曼手镯难度:非常困难
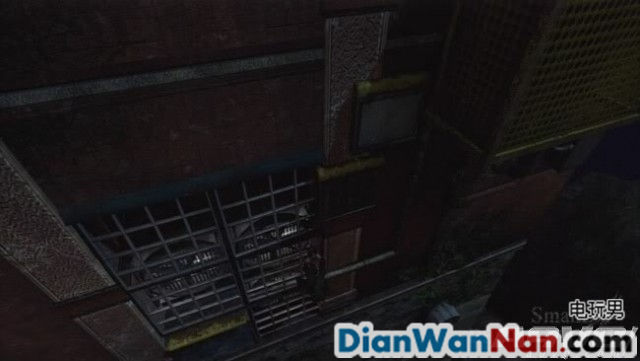
用绳子荡到这一边后,先不要往上爬,沿着墙檐一直往右爬。拐角后即可在水渠里找到。
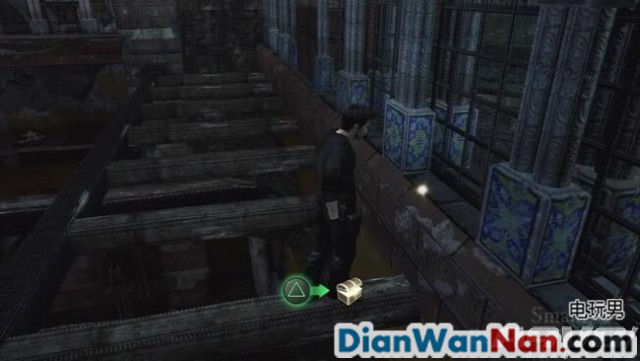
No.13老怀表难度:困难
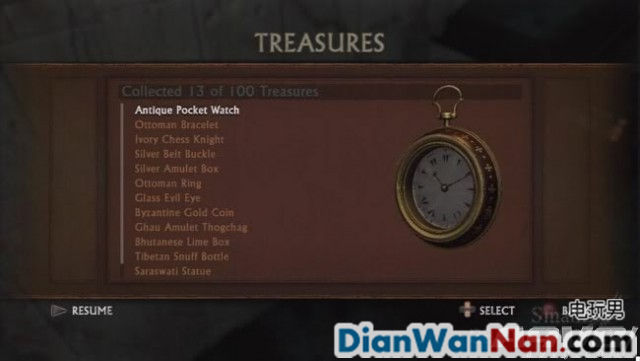
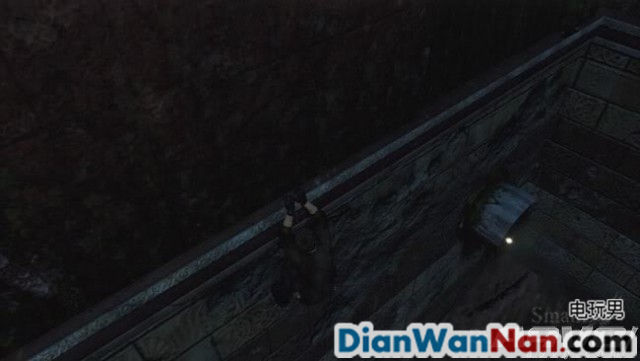
在挂在横梁上单手射击守卫后到达的地方,在围栏缺口往右跳。可以在一处建筑的墙上找到。如图所示。
博物馆展览大厅
小心守卫的镭射枪,拿到宝藏后往转身往前跑。就可以在一处窗口逃出展览大厅,最后进入下水道即可。
No.14老烟斗难度:普通
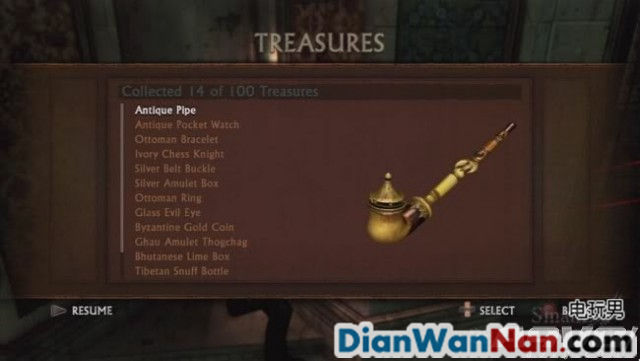
这里不要急着逃跑。先转身,就可以在一处墙上找到。
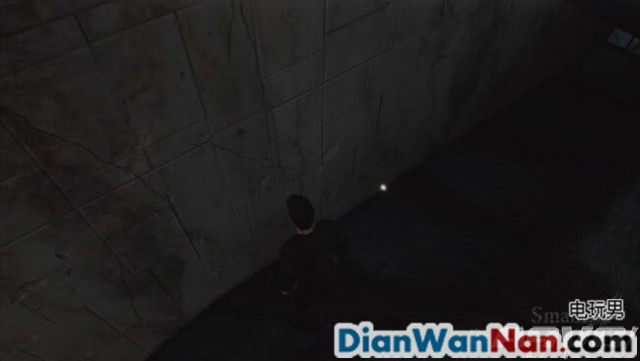
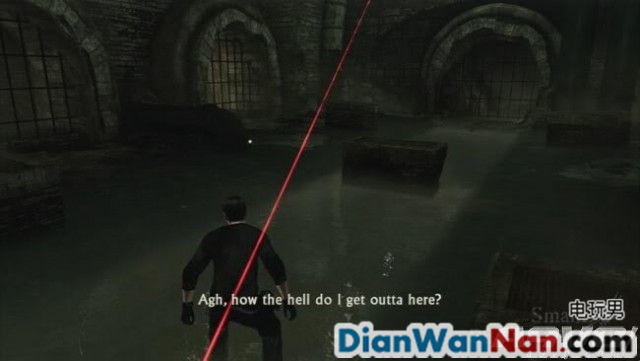
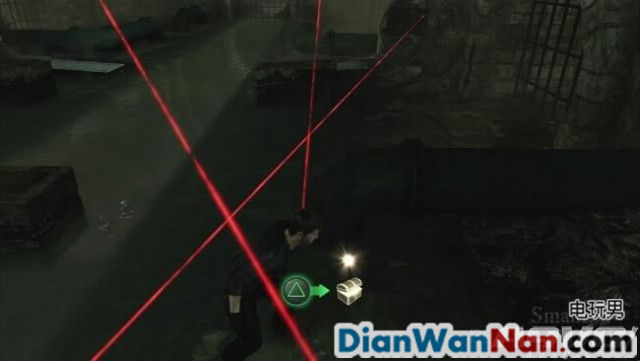
地图4 博物馆 下水道2
在下水道里找到逃脱的梯子,爬出去就可以了。不过同样要小心镭射枪。
No.15以珠宝装饰的手镯难度:容易
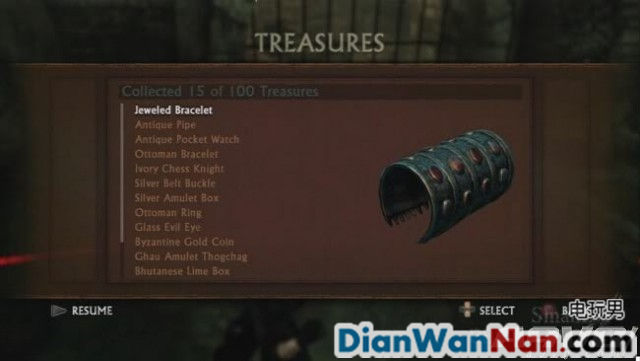
进入下水道后,在图中位置就可以看到,毫无难度的一个宝藏。
同类游戏


相关文章
- 攻略
- 神秘海域2图文攻略(神秘海域图文攻略游民星空)

这一期给大家分享一篇神秘海域2图文攻略,这游戏的别称叫做神秘海域2纵横四海,也是索尼公司旗下的顽皮狗工作室制作的索尼独占作品,也是该系列的第二部,游戏主人公依旧是我们最熟悉的内森·德雷克,而剧情是发生在第一部的纪念之后,主人公
- 异星探险家攻略大全(异星探险家通关条件)

本次为大家带来异星探险家攻略大全的分享了,作为新手开荒的你,肯定会在中后期遇到一些难题,为此就让小编来告诉大家如何在中后期进行开荒,好让你的后续玩法更加完善,下面就一起来看下异星探险家攻略大全吧。在游戏最初,玩家可以通过与基地相连的氧气栓抵
- 大侠立志传图文攻略(大侠传贴吧)
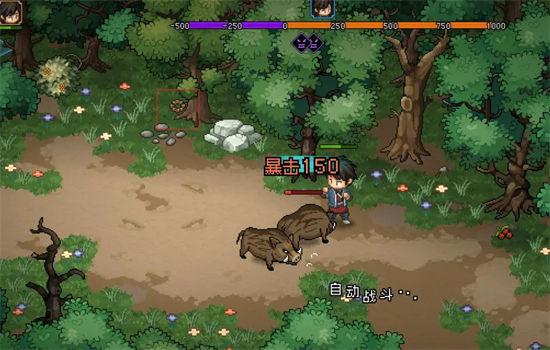
本次为大家带来大侠立志传图文攻略,这是一款国产武侠游戏,玩家可以在这个武侠江湖里面玩转你的世界,游戏中会有大量的任务以及剧情,作为一款国产游戏,目前该游戏已经在steam上发售了,玩家可以免费试玩体验,那么小编就先给大家分享一篇完美的图文攻
- 大盗伍佑卫门外传1图文攻略(大盗伍佑卫门外传2攻略)
本次为大家带来大盗伍佑卫门外传1图文攻略,这是一款《伍佑卫门》系列的第一部作品,游戏属于动作+迷宫探险的,虽说是外传作品,不过游戏的质量还是挺不错的,主角伍佑卫门在家里找不到自己的黄金烟斗,于是乎翻了整个家里都还是找不到,于是乎就出门旅游了
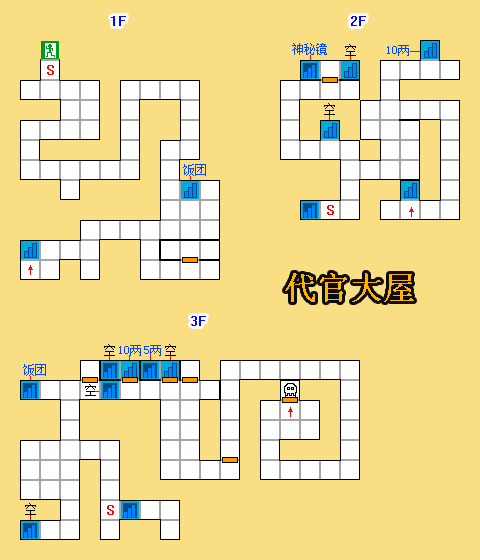
- 大侠立志传攻略大全(大侠传官方论坛)
本次为大家带来大侠立志传攻略大全第三部分的分享了,现在分享给大家的是资源刷新点+练功点+宝藏密室+重要物品+武学+武器+配方图纸,这些都是玩家所要追求的一些秘籍,这些秘籍都能让玩家在游戏中玩得更加有深度,下面就一起来看下吧。大侠立志传攻略大
- 引魂铃2图文攻略(引魂铃图文攻略大全)
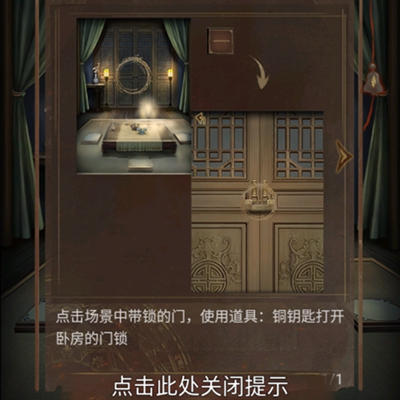
本次为大家带来引魂铃2图文攻略的分享了,相信很多玩家都玩过引魂铃这部作品了吧,而这一次的第二部也是非常精彩的,故事将会开启全新的剧情,那么你要如何来解谜这个迷魂阵呢?就让我们就一起来看下引魂铃2图文攻略吧~1、点击场景中带锁的门,使用道具:
近期热点
- 神秘海域2图文攻略(神秘海域图文攻略游民星空)
这一期给大家分享一篇神秘海域2图文攻略,这游戏的别称叫做神秘海域2纵横四海,也是索尼公司旗下的顽皮狗工作室制作的索尼独占作品,也是该系列的第二部,游戏主人公依旧是我们最熟悉的内森·德雷克,而剧情是发生在第一部的纪念之后,主人公
- 异星探险家攻略大全(异星探险家通关条件)
本次为大家带来异星探险家攻略大全的分享了,作为新手开荒的你,肯定会在中后期遇到一些难题,为此就让小编来告诉大家如何在中后期进行开荒,好让你的后续玩法更加完善,下面就一起来看下异星探险家攻略大全吧。在游戏最初,玩家可以通过与基地相连的氧气栓抵
- 大侠立志传图文攻略(大侠传贴吧)02-10
- 大盗伍佑卫门外传1图文攻略(大盗伍佑卫门外传2攻略)02-10
- 大侠立志传攻略大全(大侠传官方论坛)02-10
- 引魂铃2图文攻略(引魂铃图文攻略大全)02-10
- 口袋妖怪黑白一周目图文攻略(口袋妖怪黑白一周目精灵推荐)02-10
精品推荐
-

奇门之上(首续0.05折)精简版 回合游戏 / 361.13MB
下载 -
奇门之上(首续0.05折)正版 二次元 / 361.13MB
下载 -

时之幻想曲(余额代充UR全免)精简版 二次元 / 1011.51MB
下载 -

修仙物语(0.1折新春开箱)极速版 放置游戏 / 34.46MB
下载 -
 下载
下载
